Sometime authors face problem while inserting figure in manuscript template. Here detailed step wise instructions are provided for insertion of graphics/figures/graphs/images/chemical structure in the manuscript file (MS-word file). Here instructions/images for MS-word 2007 are provided, similar procedure can be followed for other text programs (MS word 97-2003 or OpenOffice Writer).
It is advised that before you insert figure, you write (or copy paste) text of manuscript in the article template file and after that you insert the figure.
Insertion of Single column Graphics (Images, table, graphs, figures, chemical structure or any other graphics)
Step 1. When you are done with manuscript text writing in the article template, place the cursor (pointer) where you want to insert the figure.
For example, lets take the point as depicted in image below where you want to insert the figure.
Step 2. Now at this point, insert a line (simply press ‘Enter’ key).
Step 3. Bring the text pointer (the blinking pointer when you write) to this line and select ‘Normal’ style (from style menu) for this inserted line as shown below
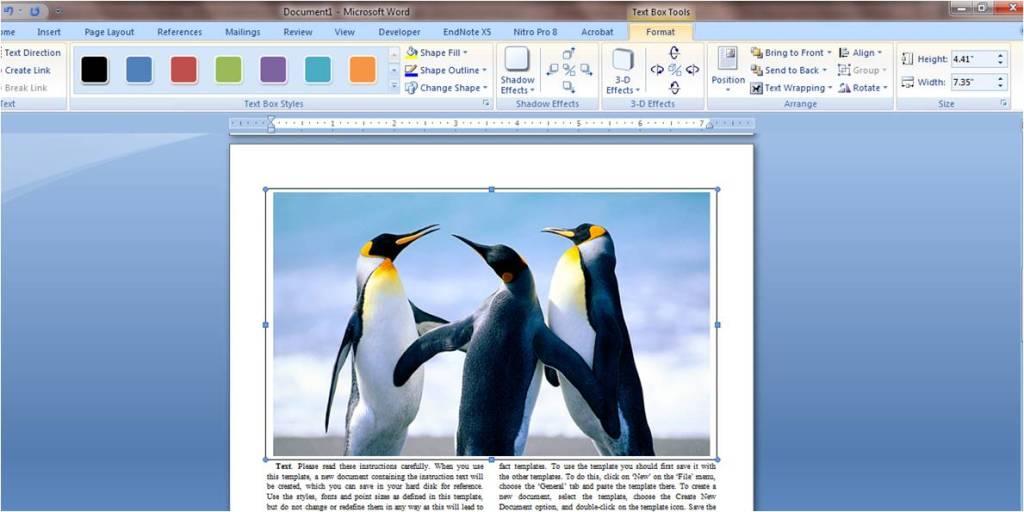
Step 4. Now go to the program from which you want to insert figure (resize the figure in its program itself so that it fit into one column). Now copy (ctrl+C) the figure. Come to word file and paste (ctrl+V) at the point of insertion.
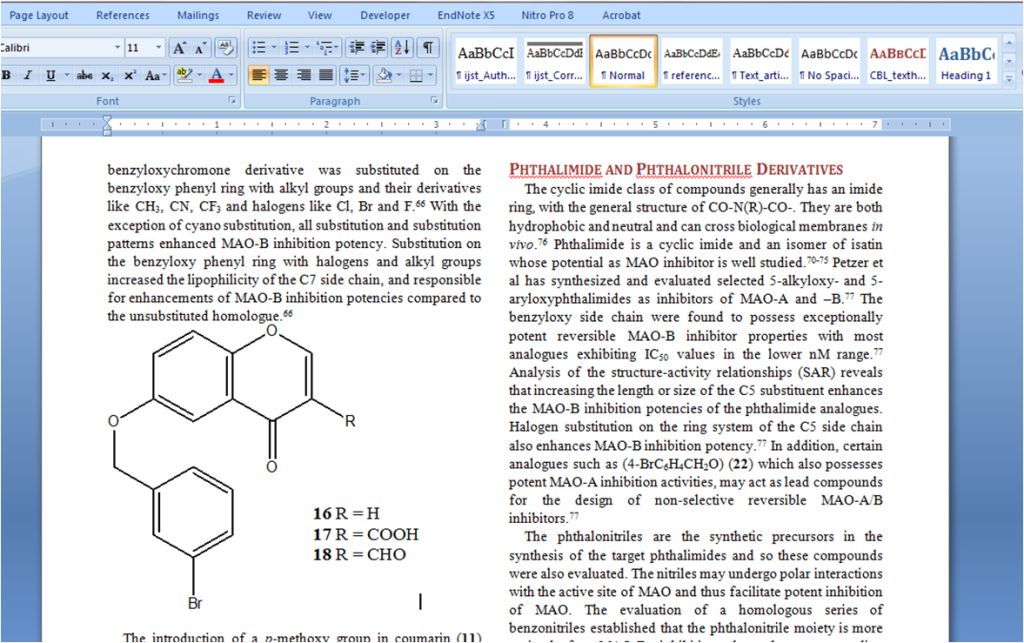
Step 5. Now insert one line break (press ‘Enter’ ) after the inserted figure and write caption for figure (set its style to Times New Roman, 10 point).
You can use same procedure for insertion of more figure or insertion of any other graphics including images, tables, chemical structures.
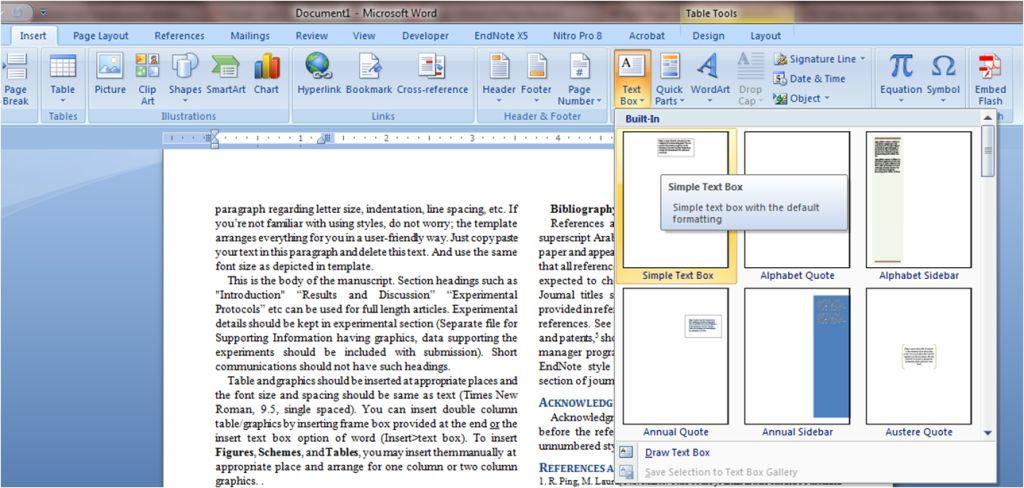
Step 1. Open your manuscript file and go to the page where you want to insert two column wide graphics.
Insert a simple text box from Insert menu ( Insert > text Box > simple text box ) as shown below
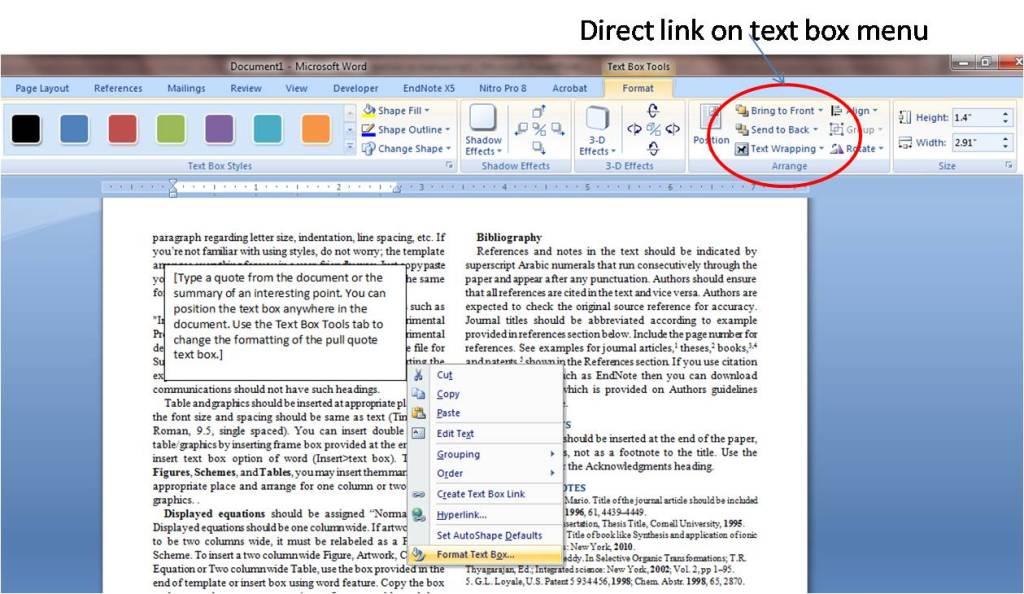
Step 2. Right click on the text box, from opened window select ‘Format text box…’
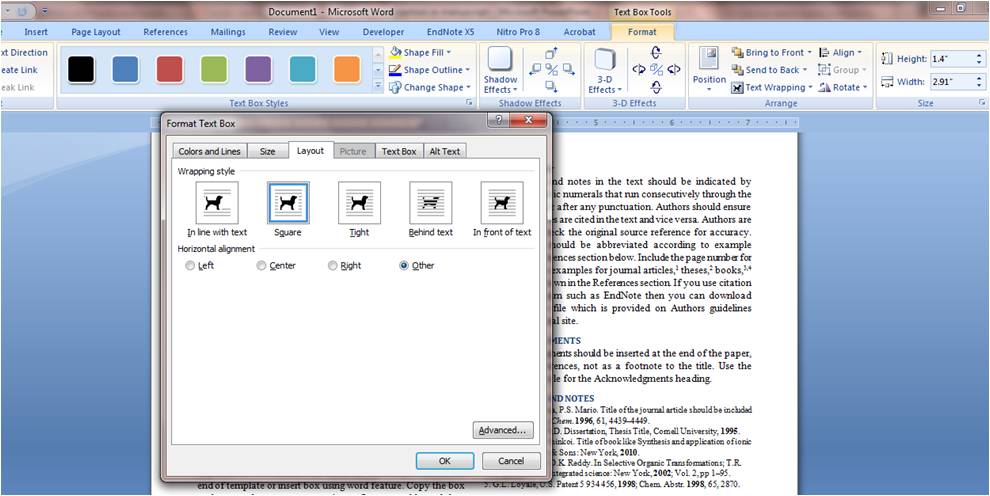
Step 3. From this window go to Layout tab and select ‘Square’ option. Click ‘Ok’ and return to page.
Step 4. Now drag and resize the box according to size and location of your figure.
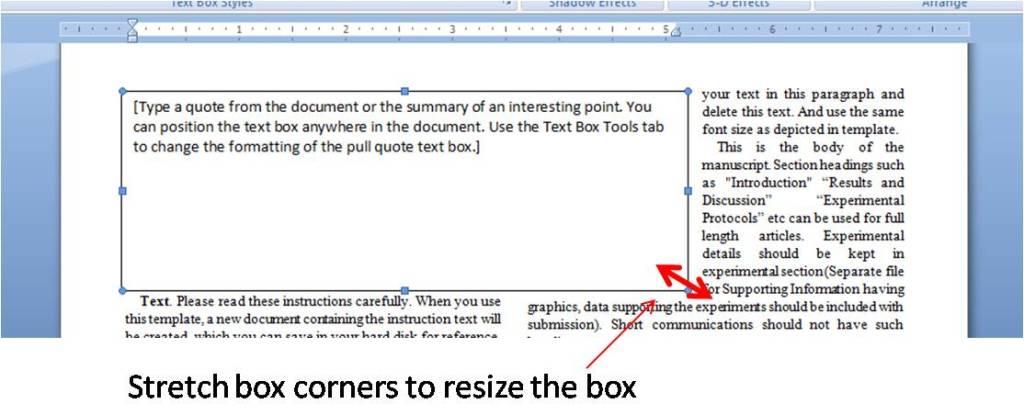
Step 5. Insert two column wide graphics, table, structures inside the box. Also insert caption at end of graphics.
Style guide for Chemical Structures.
IS is adopting similar style as by American Chemical Society (ACS) style (except the font size for captions as Arial 11 point) for the chemical structures for all of its journals. Just open the Chemical structure drawing program (Chemdraw, Accelyris Draw, ChemSketch or other program). Select ‘Open ACS style/apply ACS style’ from drop down menu from File or option menu (you can check the main menu of respective program and find out the ACS style). Now draw your structure. In the end, just change the font size of text/structure label to 11 points (not atom labels).
If you have already drawn your structures, then select the structures and apply ACS style (Open the file in Chemdraw (or other program) and select ‘Apply settings’.
You can download 1 column style file for Chemdraw and 2 column style file from this link (ACS site)
open these files in your program and draw the structures (these has predefined styles for structures, you need not to apply any other setting) and save or copypaste to your manuscript file.
The instructions are provided in the video below: